Did you know that searches for the “blue salt trick” have surged by over 300% since late 2024? This viral trend claims to enhance male stamina and improve overall performance. But is there any truth to it, or is it just another internet fad?
Many online sources tout the benefits of this method, suggesting it can boost blood flow and energy levels. However, experts like urologist Dr. Justin Houman remain skeptical. He emphasizes that there’s no scientific evidence to support these claims.
This article dives into the details, exploring the origins of this trend, its potential risks, and whether it’s worth trying. We’ll also look at the ingredients involved and discuss safer alternatives for improving your routine.
Whether you’re curious about the hype or seeking reliable information, we’ve got you covered. Let’s separate fact from fiction and uncover what really works.
Key Takeaways
- The “blue salt trick” has gained popularity but lacks scientific backing.
- Experts warn about the risks of high sodium intake.
- This trend claims to improve blood flow and stamina.
- Always consult a professional before trying new health methods.
- Explore safer alternatives for enhancing your routine.
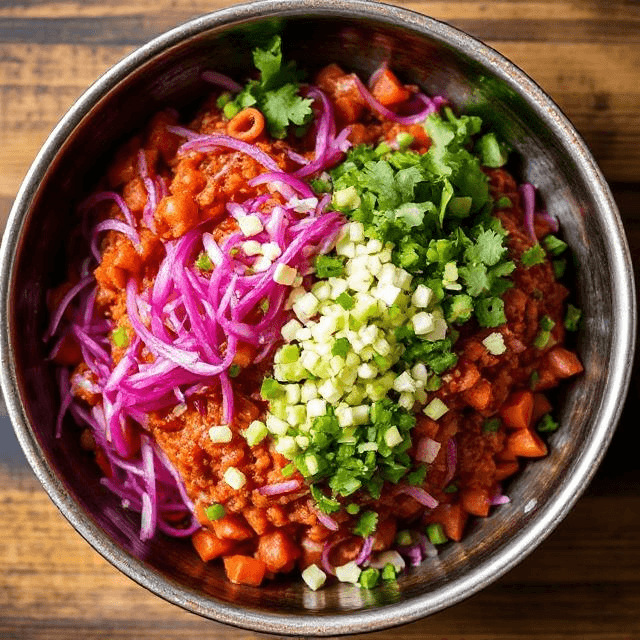
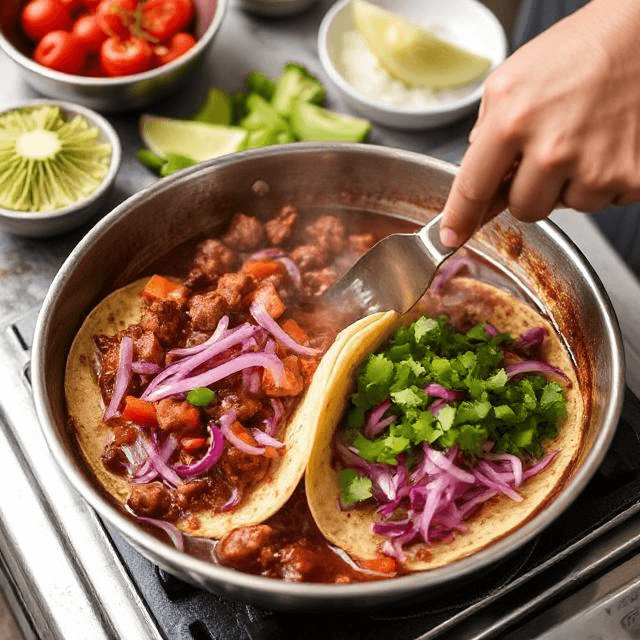
What Is the Salt Trick for Men in Bed Recipe?
Social media is buzzing about the blue salt trick, but details remain unclear. This trend has sparked curiosity, yet its exact method and ingredients are often shrouded in mystery. Let’s explore what’s behind this viral phenomenon.
The Mystery Behind the Trend
One of the biggest questions surrounding the salt trick is how it’s supposed to work. Some sources suggest consuming it orally, while others claim it’s meant for topical application. This lack of clarity has led to widespread confusion.
Adding to the ambiguity, many videos promoting this method use dubbed voices and identical scripts. These tactics raise red flags about the credibility of the claims being made.
Types of Salt Used (Blue Salt vs. Table Salt)
The blue salt used in these videos is often sourced from Iranian mines. It’s known for its lower sodium content and unique mineral profile. This has made it a popular choice among those experimenting with the trend.
In contrast, table salt is primarily composed of sodium chloride. Some variations of the salt trick use potassium chloride instead, which is believed to have different effects on the body.
However, the World Health Organization (WHO) recommends limiting daily sodium intake to 2,000 mg. Many viral videos show amounts far exceeding this limit, which could pose health risks.
- Blue salt: Lower sodium, rich in minerals.
- Table salt: High in sodium chloride.
- Potassium chloride: An alternative with potential benefits.
Understanding these differences is crucial before deciding whether to try this trend. Always consult a professional to ensure your safety.
Also Read : Easy Pink Salt Trick Recipe for Tasty Meals
Does the Salt Trick Actually Work?
The effectiveness of the so-called salt trick has sparked debates among health enthusiasts and experts alike. While some claim it boosts performance, others question its validity. Let’s examine the science behind it.
The Role of Sodium and Potassium
Sodium and potassium are essential electrolytes that help maintain fluid balance and nerve function. Sodium plays a role in fluid retention, while potassium supports muscle and nerve activity. However, excessive sodium intake can lead to high blood pressure, which damages blood vessels over time.
Potassium, on the other hand, helps counteract sodium’s effects by relaxing blood vessel walls. A 2023 study published in JAMA found that reducing sodium intake significantly lowered blood pressure in most participants. This highlights the importance of balancing these minerals for overall health.
What Science Says About Salt and Stamina
Claims that the salt trick enhances stamina lack scientific backing. While proper hydration and electrolyte balance are crucial for performance, there’s no evidence that consuming large amounts of salt improves blood flow or energy levels.
Hypertension, often caused by high sodium intake, can impair blood flow and worsen conditions like erectile dysfunction. Athletes rely on evidence-based hydration strategies, not unproven methods, to maintain performance and prevent muscle cramps.
Currently, there are no peer-reviewed studies specifically testing the effectiveness of the salt trick. Until more research is conducted, it’s best to stick to proven methods for improving stamina and overall well-being.
How the Salt Trick Claims to Improve Performance
Many online discussions suggest a unique approach to boosting energy and stamina. This method claims to enhance physical capabilities through specific techniques. Let’s explore how it supposedly works and whether these claims hold up.
Blood Flow and Circulation
One of the main claims is that this method improves blood flow by widening blood vessels. Proponents argue that increased circulation can lead to better energy levels and endurance. However, medical experts emphasize that nitric oxide, not sodium, is the primary factor in vasodilation.
Studies from Harvard Medical School show that proper circulation depends on multiple factors, including diet and exercise. Relying on a single method for performance enhancement is unlikely to yield significant benefits.
Electrolyte Balance and Muscle Function
Another claim is that this technique helps maintain electrolyte balance, which plays a role in muscle function. While sodium and potassium are essential, excessive salt intake can disrupt this balance. Athletes often tailor their electrolyte intake to their specific needs, but the average person may not require such adjustments.
Potassium depletion, often caused by diuretics, differs from routine supplementation. Overhydration and electrolyte imbalance can lead to muscle cramps and other health issues.
Debunking Instant Stamina Myths
The idea of gaining instant stamina through this method is largely unfounded. Research shows that sustained energy comes from a combination of proper nutrition, hydration, and physical activity. There’s no quick fix for improving performance or stamina.
Instead of relying on unproven techniques, focus on evidence-based strategies. A balanced diet, regular exercise, and adequate hydration are far more effective for long-term health and vitality.
Potential Risks of the Salt Trick
Health experts warn about the dangers of overloading your body with sodium. While some claim this method boosts performance, the risks far outweigh the potential benefits. Let’s explore the serious health concerns associated with excessive sodium and potassium intake.
High Blood Pressure Concerns
Chronic high sodium intake is a leading cause of high blood pressure. This condition can damage blood vessels, leading to arterial stiffness and endothelial dysfunction. Over time, it increases the risk of heart disease and stroke.
The World Health Organization (WHO) recommends limiting daily sodium intake to 2,000 mg. However, many viral trends encourage consuming far more, which can disrupt your body’s balance. Always prioritize your health by monitoring your sodium levels.
Kidney Strain and Overhydration
Your kidneys play a vital role in filtering excess sodium and potassium. Overloading your body with these minerals can lead to kidney strain and even failure. Potassium toxicity is particularly dangerous for those with impaired kidney function.
For example, Himalayan salt contains 200 mg of potassium per ¼ teaspoon, while dried apricots provide 378 mg in a single serving. Natural sources are safer and more effective for maintaining electrolyte balance.
- High sodium intake can cause bloating and dehydration.
- Undisclosed ingredients in “secret” recipes may interact with medications.
- Always consult a healthcare professional before trying new methods.
Excessive sodium and potassium intake can harm your muscle function and overall well-being. Stick to proven methods for maintaining your health and performance.
Best Types of Salt for Stamina (If You Try It)
Choosing the right type of salt can make a significant difference in your health and performance. While some options are packed with essential minerals, others may fall short due to processing and additives. Let’s explore the top choices and their unique benefits.
Himalayan Pink Salt Benefits
Himalayan pink salt is renowned for its rich mineral content, including magnesium, calcium, and iron. These ingredients support muscle function and overall well-being. Unlike processed options, it contains over 80 trace minerals, making it a healthier choice.
For a safer consumption method, dissolve ¼ teaspoon of Himalayan salt in warm water with lemon. This simple drink can help maintain electrolyte balance without overloading your system.
Why Table Salt Falls Short
Regular table salt is heavily processed, often stripped of its natural minerals. Anti-caking agents and iodine additives are common, which can lead to health concerns. The FDA has even noted loopholes in “natural” labeling, making it hard to trust these products.
Cost-wise, Himalayan pink salt is pricier at $15 per pound, while table salt costs just $0.50 per pound. However, the long-term benefits of choosing a mineral-rich option outweigh the initial expense.
“The term ‘natural’ on salt labels can be misleading. Consumers should look for detailed ingredient lists to make informed choices.”
| Type | Mineral Content | Cost | Best Use |
|---|---|---|---|
| Himalayan Pink Salt | 80+ minerals (magnesium, calcium, iron) | $15/lb | Dissolve in warm water |
| Table Salt | Primarily sodium chloride | $0.50/lb | Limited use due to additives |
When considering your options, prioritize mineral-rich choices like Himalayan pink salt. They not only support better blood vessels and blood pressure but also enhance overall health. Always consult a professional before making significant dietary changes.
Natural Alternatives to Boost Stamina
Boosting stamina naturally doesn’t require unproven methods—science-backed solutions work better. By focusing on your diet, hydration, and exercise routine, you can achieve lasting results without risking your health. Let’s explore the best ways to enhance your energy levels and overall performance.
Foods That Enhance Blood Flow
Certain foods can naturally improve blood flow and support stamina. Watermelon, for example, is rich in citrulline, which helps produce nitric oxide. This compound widens blood vessels, enhancing circulation.
Other nitric oxide-boosting options include beets and spinach. Dark chocolate and ginseng are also known for their ability to improve energy levels. Incorporating these into your diet can provide noticeable benefits over time.
- Watermelon: Rich in citrulline for better circulation.
- Beets: Packed with nitrates to support blood flow.
- Spinach: High in nitrates and essential nutrients.
Hydration Hacks for Better Performance
Staying hydrated is crucial for maintaining energy and preventing muscle cramps. Coconut water is an excellent choice, as it’s rich in potassium and electrolytes. Ginger tea can also help reduce inflammation and improve digestion.
Monitor your hydration levels by checking the color of your urine. Pale yellow indicates proper hydration, while darker shades suggest you need more fluids. Aim to drink water consistently throughout the day.
Exercise and Lifestyle Tweaks
Regular physical activity is one of the most effective ways to boost stamina. A 2018 study found that 40 minutes of aerobic exercise, four times a week, significantly improves cardiovascular health and energy levels.
Incorporate activities like brisk walking, cycling, or swimming into your routine. Additionally, managing stress through practices like yoga or meditation can enhance your overall well-being.
For those seeking additional support, FDA-approved medications like sildenafil (Viagra) offer a safer alternative to unproven methods. Always consult a healthcare professional before making significant changes to your lifestyle or medication regimen.
Why Proven ED Treatments Are Safer
When it comes to improving performance, relying on proven treatments is always the safer choice. Clinically validated options like Viagra and Cialis have decades of research and safety data behind them. In contrast, unproven methods like the salt trick lack scientific backing and may pose health risks.
How Medications Like Viagra Compare
Viagra, approved by the FDA in 1998, has a well-documented safety profile spanning over 25 years. It typically takes effect within 15 to 60 minutes, making it a reliable option for many men. Cialis, another popular medication, offers up to 36 hours of effectiveness, providing greater flexibility.
Unlike unproven remedies, these medications undergo rigorous testing to ensure their benefits and safety. Generic versions like sildenafil are also available at a fraction of the cost, with prices as low as $2 per pill compared to $70 for branded Viagra.
“FDA-approved ED medications are backed by extensive clinical trials and long-term safety data, making them a trusted choice for millions of patients.”
The Role of Diet and Exercise
While medications are effective, lifestyle changes can also play a significant role in improving health and performance. A 2023 meta-analysis found that the Mediterranean diet, rich in fruits, vegetables, and healthy fats, can enhance erectile function and reduce stress levels.
Regular exercise, particularly aerobic activities like brisk walking or cycling, improves blood pressure and circulation. These changes not only support physical performance but also contribute to overall well-being.
- Mediterranean diet: Enhances erectile function and reduces stress.
- Aerobic exercise: Improves blood pressure and circulation.
- FDA-approved medications: Offer reliable and safe solutions.
By combining proven treatments with a healthy lifestyle, you can achieve lasting results without risking your health. Always consult a healthcare professional before making significant changes to your routine or medication regimen.
Final Verdict: Should You Try the Salt Trick?
The debate over the effectiveness of this method continues to grow. While some claim it delivers impressive results, experts remain skeptical due to the lack of scientific evidence. Let’s break down the key points to help you make an informed decision.
First, there are no peer-reviewed studies validating this approach. Anecdotal claims often lack the rigor needed to prove effectiveness. Without solid research, it’s hard to trust the supposed benefits.
Second, the risks are significant. Excessive sodium intake can lead to high blood pressure, which damages blood vessels and strains the body. These health concerns far outweigh any unverified advantages.
If you’re considering this method, consult a urologist or healthcare professional first. They can provide personalized advice based on your health history and needs.
For those still curious, moderation is key. Use salt as part of a balanced diet, not as a standalone solution. Pair it with proven strategies like regular exercise and a nutrient-rich diet for better results.
Finally, consider FDA-approved treatments and lifestyle changes as first-line solutions. These options are backed by extensive research and offer safer, more reliable outcomes.
| Aspect | Risks | Benefits |
|---|---|---|
| Scientific Evidence | None | Unverified claims |
| Health Impact | High blood pressure, kidney strain | Potential energy boost (unproven) |
| Professional Advice | Consult a doctor before trying | Personalized guidance |
In summary, the risks associated with this method outweigh its unverified benefits. Prioritize your health by choosing evidence-based solutions and consulting professionals for advice.
For More Informations : Salt Trick for Men in Bed
Conclusion
Quick fixes may seem appealing, but they often come with hidden risks. Excessive salt intake and potassium manipulation can harm your blood flow and overall health. Instead of relying on unproven methods, focus on evidence-based strategies like regular exercise and proper hydration.
Building a healthy routine takes time, but the benefits are long-lasting. For example, maintaining electrolyte balance with natural sources of potassium is safer than experimenting with untested trends. Always consult a healthcare professional before making significant changes to your diet or lifestyle.
For reliable resources, refer to the WHO sodium guidelines or the NIH ED treatment portal. Sharing experiences can be helpful, but avoid endorsing methods without scientific backing. If you’re seeking personalized advice, consider certified telehealth platforms for consultations.