https://www.thekitchn.com/cottage-cheese-pancakes-263223Introduction
Cottage cheese is a creamy, protein-rich, and versatile dairy product that’s surprisingly simple to make at home. Unlike store-bought versions, homemade cottage cheese lets you control the texture, flavor, and freshness. This recipe is perfect for anyone looking to embrace traditional food-making methods while enjoying a healthier and tastier alternative to commercial varieties.
Table of Contents
The Story Behind Homemade Cottage Cheese
Cottage cheese has a long history, with roots in ancient civilizations where dairy was a primary source of sustenance. The term “cottage cheese” is believed to have originated in the 19th century when farmers made it in small cottages using leftover milk. Making cottage cheese at home brings you closer to this simple, wholesome tradition, offering a sense of connection to its rich culinary history.
The Benefits of Making Your Own Cottage Cheese
- Freshness: You can enjoy cottage cheese at its peak flavor without additives or preservatives.
- Customization: Adjust the creaminess, saltiness, and curd size to suit your taste.
- Economical: Making your own cottage cheese is cost-effective compared to store-bought versions.
- Healthy: Homemade versions are free from stabilizers or artificial ingredients, ensuring a clean and nutritious product.
Essential Ingredients for the Perfect Cottage Cheese
- 4 cups whole milk (preferably non-homogenized)
- 2 tablespoons white vinegar or lemon juice
- ¼ teaspoon salt (optional, to taste)
- 2–3 tablespoons cream or milk (for added creaminess, optional)
Cultural History of Ingredients
- Milk: Revered across cultures, milk has been a cornerstone of diets, from ancient Egyptian to Indian cuisines.
- Vinegar/Lemon Juice: Traditional acidic agents used in cheese-making for centuries.
- Salt: A timeless preservative and flavor enhancer in dairy products.
Equipment You’ll Need
- Heavy-bottomed pot
- Wooden spoon
- Cheesecloth or fine-mesh strainer
- Large bowl
- Thermometer (optional but recommended)
Step-by-Step Instructions for Homemade Cottage Cheese
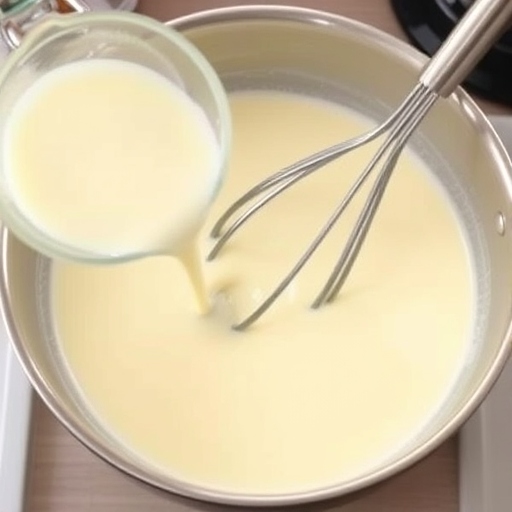
Step 1: Heat the Milk
- Pour the milk into a heavy-bottomed pot and heat gently over medium heat.
- Stir occasionally to prevent scorching, and bring the milk to about 190°F (just before boiling).
Step 2: Add Acid
- Remove the pot from heat and stir in the vinegar or lemon juice gradually.
- Watch as curds form and separate from the whey. Let it sit for 5–10 minutes.
Step 3: Strain the Curds
- Line a colander with cheesecloth and place it over a large bowl.
- Pour the curds and whey into the colander, allowing the liquid to drain.
Step 4: Rinse and Season
- Rinse the curds under cold water to remove any vinegar or lemon juice flavor.
- Gently squeeze the cheesecloth to remove excess liquid.
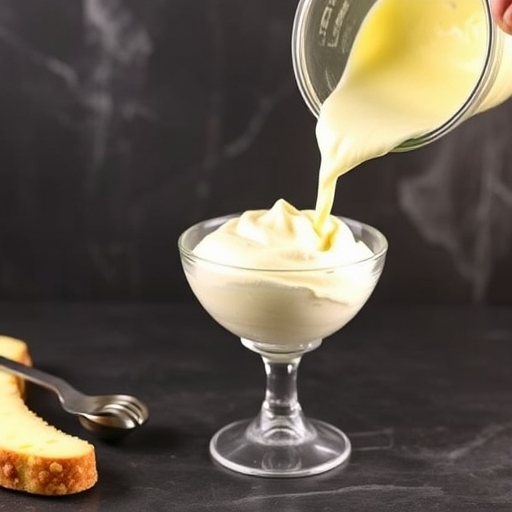
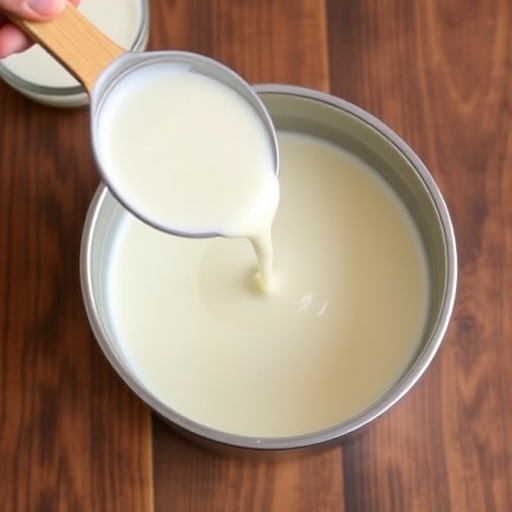
Step 5: Add Creaminess
- Transfer the curds to a bowl and stir in a few tablespoons of cream or milk, if desired.
- Season with salt to taste and serve fresh.


Suggestions for Serving and Storing
- Serving Ideas:
- Enjoy as a topping for fresh fruits or salads.
- Use in lasagnas, casseroles, or pancakes.
- Spread on toast with a drizzle of honey.
- Storage Tips:
- Keep in an airtight container in the fridge for up to 5 days.
- Avoid freezing, as it may alter the texture.
Chef Simon’s Tips for Cottage Cheese
- Use Fresh Milk: The fresher the milk, the better the flavor. Avoid ultra-pasteurized milk for best results.
- Experiment with Acids: Lemon juice gives a tangy flavor, while vinegar offers a neutral taste.
- Adjust the Curds: For larger curds, stir gently during the curdling process. For smaller curds, stir more vigorously.
Emotional and Psychological Impact of Food
Making cottage cheese at home brings a sense of accomplishment and connection to nature. The process is therapeutic, fostering mindfulness and pride as you create something nourishing from scratch.
Mindful Cooking Techniques
- Be Present: Pay attention to the milk as it heats and curdles, appreciating the transformation.
- Take Your Time: Enjoy the tactile experience of straining and mixing the cheese.
Tips for Keeping the Recipe Fresh Longer
- Store in a sealed container to retain moisture and freshness.
- Consume within 3–5 days for the best flavor and texture.
Advanced Culinary Terms and Techniques
- Curdling: The process of separating milk solids (curds) from liquid (whey) using acid or heat.
- Whey: The liquid byproduct of cheese-making, rich in protein and often used in smoothies or baking.
Healthy Ingredient Alternatives
- Low-Fat Option: Use skim or low-fat milk, but note that the curds may be less creamy.
- Salt-Free Version: Skip the salt for a naturally mild flavor.
- Vegan Alternative: Substitute dairy milk with soy or almond milk and use a coagulant like calcium sulfate.
More Serving Ideas
- Mix with herbs and garlic for a savory spread.
- Add to scrambled eggs for a protein boost.
- Use as a filling for stuffed peppers or pasta shells.
Common Issues and Solutions
- Curds Won’t Form: Ensure the milk is hot enough before adding the acid.
- Cottage Cheese Too Dry: Add more cream or milk to achieve the desired texture.
- Bland Flavor: Don’t skip the salt, or experiment with seasonings like paprika or dill.
Variations to Try
- Herbed Cottage Cheese: Add chopped parsley, dill, or chives for a fresh twist.
- Spicy Cottage Cheese: Mix in chili flakes or jalapeños for a kick.
- Sweet Cottage Cheese: Stir in honey or maple syrup with a handful of dried fruits.
Nutritional Information and Health Benefits
- Calories: ~100 per half-cup
- Protein: ~14g per serving, great for muscle repair
- Calcium: Supports bone health
The Art of Pairing Cottage Cheese
- With Drinks: Pair with a glass of fresh orange juice or iced tea.
- With Breads: Spread on whole-grain bread or pair with a warm croissant.
- With Fruits: Serve alongside berries, pineapple, or melon for a refreshing snack.
Weather and Recipe Outcome
Homemade cottage cheese is a light and refreshing option perfect for any season. It’s especially delightful in the summer when paired with fresh produce or served chilled.
Other Cheese Recipes to Explore
- Homemade Ricotta Cheese
- Classic Mozzarella
- Creamy Mascarpone
- Tangy Feta Cheese
Focus on Tools and Equipment
- Thermometer: Ensures milk reaches the optimal temperature for curdling.
- Cheesecloth: Essential for straining curds effectively.
- Stainless Steel Pot: Distributes heat evenly without scorching.
Frequently Asked Questions (with answers)
Q: Can I use non-dairy milk for this recipe?
A: Yes, but you’ll need a different coagulant like calcium chloride or agar agar.
Q: What can I do with the leftover whey?
A: Use it in smoothies, soups, or as a substitute for water in bread recipes.
Q: How do I make my cottage cheese creamier?
A: Stir in more cream or milk after rinsing and draining the curds.
Conclusion
Homemade cottage cheese is a simple yet rewarding recipe that brings the charm of traditional dairy-making to your kitchen. With minimal ingredients and equipment, you can create a versatile, healthy, and delicious product tailored to your taste. Try it today and discover the joy of crafting your own cottage cheese!