Introduction
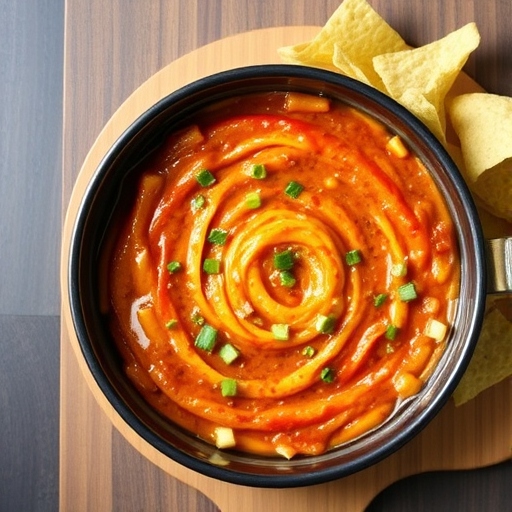
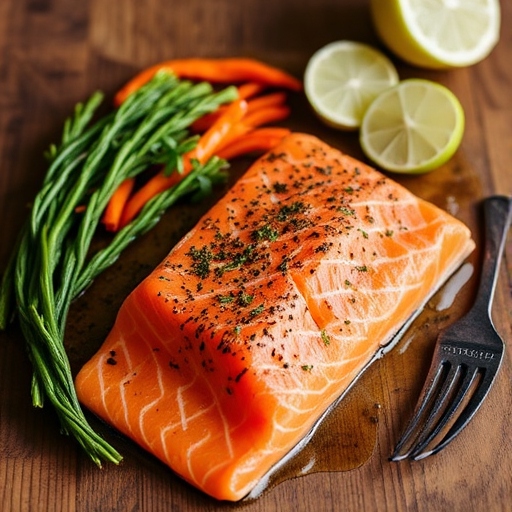
Seafood boil sauce is the heart of any seafood feast, elevating simple boiled shrimp, crab, lobster, and clams into a flavorful, unforgettable dish. This rich and buttery sauce, infused with a symphony of spices, garlic, and citrus, transforms a seafood boil into a savory, finger-licking masterpiece. Whether you’re hosting a summer gathering or enjoying a cozy seafood dinner at home, this recipe will delight your taste buds and impress your guests.
Table of Contents
1. The Story Behind Seafood Boil Sauce
The origins of seafood boil sauce can be traced to Southern Louisiana, where Cajun and Creole culinary traditions reign supreme. Combining fresh seafood with bold spices and butter, the dish reflects the region’s rich cultural diversity. Seafood boils are communal experiences, often enjoyed outdoors, with family and friends gathered around a steaming pot of freshly cooked shellfish. The sauce is the secret weapon, a blend of aromatic spices and savory ingredients designed to coat every bite.
2. The Benefits of Making Your Own Seafood Boil Sauce
- Customizable Flavors: Tailor the spice level and seasoning to your preference.
- Quality Control: Use fresh, high-quality ingredients for a healthier option.
- Cost-Effective: Save money compared to store-bought sauces or restaurant versions.
- Versatility: The sauce doubles as a dip or glaze for other dishes, like roasted vegetables or grilled meat.
3. Essential Ingredients for the Perfect Seafood Boil Sauce
Ingredients
- Butter: 1 cup (2 sticks), unsalted, for a creamy, rich base.
- Garlic: 8 cloves, minced, for robust flavor.
- Old Bay Seasoning: 2 tablespoons, a classic seafood seasoning blend.
- Paprika: 2 teaspoons, for smoky undertones.
- Cayenne Pepper: 1 teaspoon, for a kick of heat (adjust to taste).
- Lemon Juice: 2 tablespoons, for a bright, citrusy balance.
- Worcestershire Sauce: 1 tablespoon, for depth and umami.
- Chicken Broth: ½ cup, to thin the sauce slightly.
- Brown Sugar: 1 teaspoon, to balance the spices with a hint of sweetness.
- Parsley: 2 tablespoons, chopped, for garnish.
- Salt and Pepper: To taste.
4. Cultural History of Ingredients
- Old Bay Seasoning: A staple in American seafood dishes, originating from Maryland and synonymous with crab boils.
- Cayenne Pepper and Paprika: These spices highlight Cajun and Creole cooking influences.
- Butter and Garlic: Essential to French cuisine, showcasing Louisiana’s Creole roots.
- Lemon Juice: A global ingredient, often used to enhance the freshness of seafood.
5. Equipment You’ll Need
- Saucepan or skillet for cooking.
- Wooden spoon or silicone spatula for stirring.
- Measuring spoons and cups for precision.
- A serving bowl or ramekin for presenting the sauce.
6. Step-by-Step Instructions for Seafood Boil Sauce
Step 1: Melt the Butter
- Heat a saucepan over medium heat and add the butter.
- Stir occasionally until the butter melts completely and begins to foam.
Step 2: Sauté the Garlic
- Add the minced garlic to the melted butter.
- Sauté for 1–2 minutes until fragrant but not browned.
Step 3: Add the Spices and Seasoning
- Stir in the Old Bay seasoning, paprika, cayenne pepper, salt, and pepper.
- Cook for 1–2 minutes to allow the spices to bloom and release their aroma.
Step 4: Incorporate the Liquids
- Pour in the chicken broth, Worcestershire sauce, and lemon juice.
- Stir well and bring the mixture to a gentle simmer.
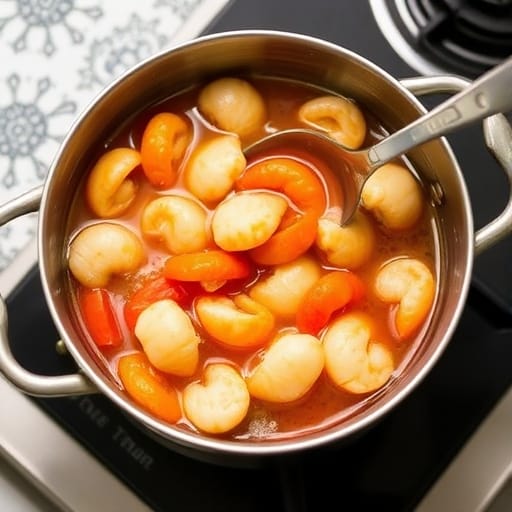
Step 5: Final Touches
- Add the brown sugar and adjust the seasoning to taste.
- Let the sauce simmer for 5 minutes, stirring occasionally, until it thickens slightly.
Step 6: Garnish and Serve
- Remove from heat and stir in the chopped parsley.
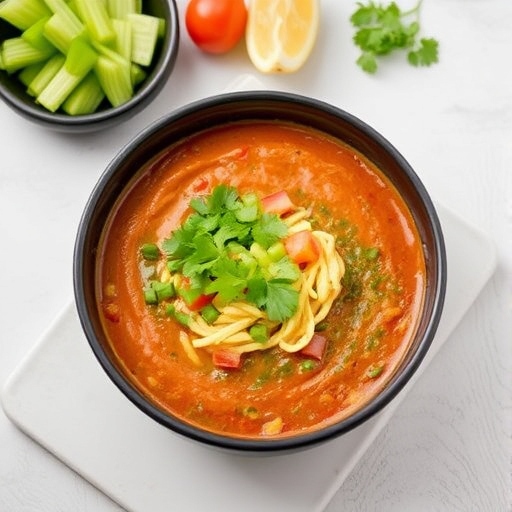
- Serve warm with your seafood boil, ensuring every piece is generously coated.
7. Suggestions for Serving and Storing
- Serving: Serve the sauce on the side as a dip or pour it over the seafood boil for maximum flavor.
- Storing: Refrigerate in an airtight container for up to 5 days. Reheat gently before serving to retain the sauce’s buttery consistency.
8. Chef Simon’s Tips for Seafood Boil Sauce
- Boost the Flavor: Add a splash of hot sauce for extra heat.
- Vary the Liquid: Substitute chicken broth with seafood stock for a richer taste.
- Layer the Aromatics: Add diced onions or celery for additional depth.
9. Emotional and Psychological Impact of Food
This sauce turns a simple seafood boil into a celebration. The rich, bold flavors evoke memories of summer gatherings and communal meals, fostering a sense of warmth and connection.
10. Mindful Cooking Techniques
- Focus on the aromatic process of sautéing garlic and spices.
- Enjoy the balance of flavors as you adjust the seasoning to perfection.
11. Tips for Keeping the Recipe Fresh Longer
- Store leftovers in a sealed jar to prevent the butter from absorbing fridge odors.
- Reheat gently over low heat to preserve the sauce’s creamy texture.
12. Advanced Culinary Terms and Techniques
- Emulsification: The process of blending butter with liquid to create a smooth, cohesive sauce.
- Blooming Spices: Cooking spices in fat to enhance their flavor and aroma.
13. Healthy Ingredient Alternatives
- Use olive oil instead of butter for a dairy-free option.
- Swap brown sugar with honey or agave syrup for natural sweetness.
- Opt for low-sodium chicken broth to reduce salt content.
14. More Serving Ideas
- Drizzle over grilled vegetables or roasted potatoes.
- Use as a dipping sauce for crusty bread or fried seafood.
- Incorporate into pasta dishes for a seafood-inspired twist.
15. Common Issues and Solutions
- Separated Sauce: Ensure the liquid is added slowly and whisked thoroughly to emulsify.
- Too Salty: Add a splash of water or extra lemon juice to balance the flavors.
- Overly Thick: Stir in additional broth or butter to thin the sauce.
16. Variations to Try
- Garlic Butter Sauce: Skip the spices and let garlic and butter shine.
- Spicy Cajun Sauce: Increase cayenne and paprika for a fiery kick.
- Citrus Herb Sauce: Add orange or lime zest for a tangy twist.
17. Nutritional Information and Health Benefits
- Calories: ~120 per serving (2 tablespoons).
- Rich in Vitamin A: From paprika and parsley.
- Antioxidants: Found in garlic and lemon juice, promoting immune health.
18. The Art of Pairing Seafood Boil Sauce
- Beverages: Serve with cold beer or a crisp white wine like Sauvignon Blanc.
- Sides: Pair with corn on the cob, boiled potatoes, or coleslaw for a complete meal.
19. Weather and Recipe Outcome
This versatile sauce is perfect for any season. In summer, it complements outdoor seafood boils, while in winter, it brings warmth to indoor gatherings.
20. Other Seafood Recipes to Explore
- Grilled Shrimp Skewers
- Crab Cakes with Remoulade Sauce
- Lobster Tail with Garlic Butter
21. Focus on Tools and Equipment
- A heavy-bottomed saucepan ensures even cooking and prevents burning.
- Silicone spatulas are ideal for stirring and scraping the sides of the pan.
22. Frequently Asked Questions (with answers)
Q: Can I freeze the sauce?
A: Yes! Freeze in an airtight container for up to 2 months. Thaw and reheat gently before using.
Q: Can I use salted butter?
A: Yes, but reduce the added salt to avoid over-seasoning.
Q: How do I make it spicier?
A: Add more cayenne pepper or a splash of your favorite hot sauce.
Conclusion
Seafood boil sauce is the ultimate companion for any seafood feast, combining buttery richness with bold, savory flavors. This recipe offers flexibility, allowing you to customize it to suit your taste while celebrating the vibrant culinary traditions it represents. Gather your loved ones, whip up this incredible sauce, and transform your next seafood boil into an unforgettable experience!