Introduction
Rosemary Potato Soup is the epitome of comfort in a bowl. This hearty, velvety soup combines the earthy richness of potatoes with the herbal fragrance of fresh rosemary. Perfect for chilly days or as a satisfying meal any time of the year, this recipe offers a delightful balance of creamy textures and robust flavors. Whether served as a standalone dish or alongside crusty bread, this soup is guaranteed to warm your heart and please your taste buds.
Table of Contents
1. The Story Behind Rosemary Potato Soup
The pairing of potatoes and rosemary is a classic culinary match that dates back centuries, especially in Mediterranean cuisines. The herbaceous aroma of rosemary complements the mild, starchy base of potatoes, creating a dish that is both rustic and refined. This soup takes inspiration from traditional European kitchens, where simple, wholesome ingredients are transformed into memorable meals.
2. The Benefits of Making Your Own Rosemary Potato Soup
- Fresh Ingredients: Enjoy the natural flavors of freshly harvested potatoes and rosemary.
- Customizable: Adjust seasoning, consistency, or add extra veggies to suit your preferences.
- Healthier Option: Control the amount of salt and cream for a heart-healthy dish.
- Cost-Effective: Potatoes are an affordable and versatile ingredient.
- Comforting and Nourishing: Packed with vitamins and nutrients for a satisfying meal.
3. Essential Ingredients for the Perfect Rosemary Potato Soup
Here’s what you’ll need to make this delicious soup:
- Potatoes: 4 large russet or Yukon gold potatoes, peeled and cubed.
- Rosemary: 2 sprigs fresh rosemary or 1 teaspoon dried rosemary.
- Onion: 1 medium onion, diced.
- Garlic: 3 cloves, minced.
- Butter: 2 tablespoons, unsalted.
- Olive Oil: 1 tablespoon, extra virgin.
- Vegetable Broth: 4 cups, low-sodium preferred.
- Heavy Cream: ½ cup (optional for added creaminess).
- Salt and Pepper: To taste.
- Parsley (Optional): For garnish.
4. Cultural History of Ingredients
- Potatoes: Originally from South America, potatoes have been a staple in global cuisines since their introduction to Europe in the 16th century.
- Rosemary: Revered in ancient Greece and Rome, rosemary symbolizes remembrance and has long been used for both culinary and medicinal purposes.
- Garlic and Onion: Both are foundational ingredients in nearly every cuisine, prized for their ability to enhance flavors.
5. Equipment You’ll Need
- Large soup pot or Dutch oven.
- Immersion blender or standard blender.
- Cutting board and knife.
- Wooden spoon for stirring.
- Ladle for serving.
6. Step-by-Step Instructions for Rosemary Potato Soup
- Prepare the Ingredients
- Peel and cube the potatoes. Dice the onion and mince the garlic. Strip rosemary leaves from the sprigs if using fresh.
- Sauté Aromatics
- Heat butter and olive oil in a large pot over medium heat. Add onion and garlic, sautéing until fragrant and translucent.
- Cook the Potatoes
- Add the cubed potatoes to the pot and stir to coat them in the onion-garlic mixture.
- Infuse with Rosemary
- Toss in rosemary leaves, allowing their aroma to blend with the sautéed ingredients.
- Simmer the Soup
- Pour in the vegetable broth, ensuring the potatoes are fully submerged. Bring to a boil, then reduce the heat and simmer for 20–25 minutes until the potatoes are tender.
- Blend the Soup
- Use an immersion blender to puree the soup until smooth. For a chunkier texture, leave some potato pieces intact.
- Finish with Cream (Optional)
- Stir in the heavy cream, then season with salt and pepper to taste.
- Serve and Garnish
- Ladle the soup into bowls and garnish with fresh parsley or a drizzle of olive oil.


7. Suggestions for Serving and Storing
- Serving: Pair with crusty bread, croutons, or a simple green salad for a complete meal.
- Storing: Keep in an airtight container in the fridge for up to 4 days. Freeze for up to 3 months. Reheat gently to avoid separation of the cream.
8. Chef Simon’s Tips for Rosemary Potato Soup
- Roast the Potatoes: For a deeper flavor, roast the potatoes before adding them to the soup.
- Use Fresh Herbs: Fresh rosemary provides a stronger, more vibrant flavor than dried.
- Add Parmesan: Stir in grated Parmesan for a richer taste.
9. Emotional and Psychological Impact of Food
This soup is a hug in a bowl. Its creamy texture and earthy flavors evoke a sense of warmth and security, making it a perfect dish for times when comfort is needed most.
10. Mindful Cooking Techniques
- Focus on the aromas of rosemary and garlic as they sauté, grounding yourself in the present moment.
- Stir the soup slowly and intentionally, appreciating the transformation of simple ingredients into a nourishing meal.
11. Tips for Keeping the Recipe Fresh Longer
- Freeze in individual portions for easy reheating.
- Avoid adding cream before freezing; stir it in after reheating instead.
12. Advanced Culinary Terms and Techniques
- Sweating: Cooking onions and garlic slowly to release their natural sweetness without browning.
- Emulsification: Adding cream at the end creates a velvety texture through the blending of fats and liquids.
13. Healthy Ingredient Alternatives
- Replace heavy cream with coconut milk for a dairy-free version.
- Use sweet potatoes for a slightly sweeter and more nutrient-rich soup.
14. More Serving Ideas
- Top with crispy bacon bits or toasted nuts for added texture.
- Sprinkle with smoked paprika for a hint of spice.
15. Common Issues and Solutions
- Too Thick: Add more vegetable broth or water to reach the desired consistency.
- Too Bland: Adjust with more salt, pepper, or a splash of lemon juice.
16. Variations to Try
- Cheesy Potato Soup: Add shredded cheddar cheese for a richer taste.
- Spicy Version: Stir in chili flakes or cayenne pepper for a kick.
17. Nutritional Information and Health Benefits
- Calories: ~210 per serving (without cream).
- High in Fiber: Thanks to the potatoes, supporting digestive health.
- Rich in Antioxidants: Rosemary contains compounds that boost the immune system.
18. The Art of Pairing Rosemary Potato Soup
Pair with warm, crusty bread, a glass of dry white wine, or herbal tea for a perfectly balanced meal.
19. Weather and Recipe Outcome
This soup is ideal for cooler months, providing warmth and sustenance, but it can also be enjoyed during spring when rosemary is freshly harvested.
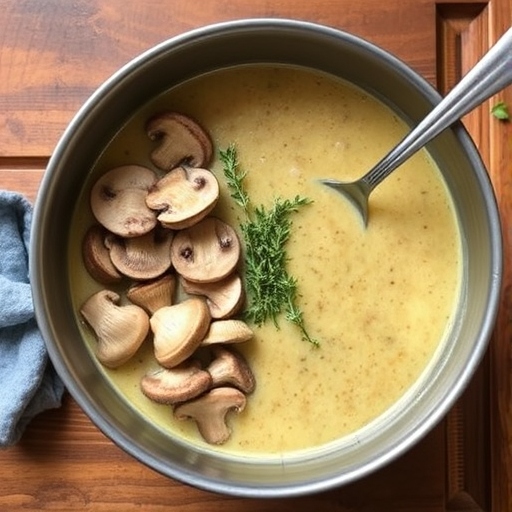
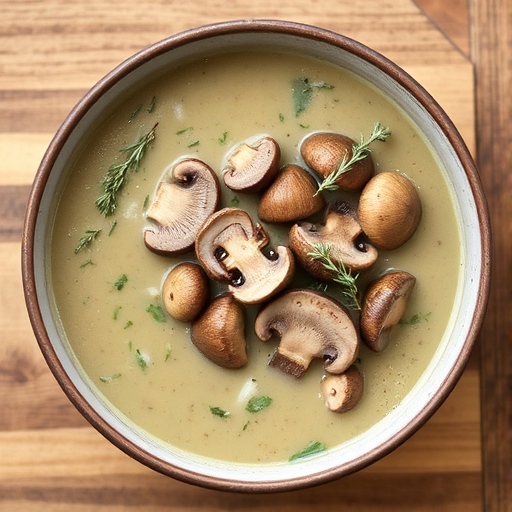
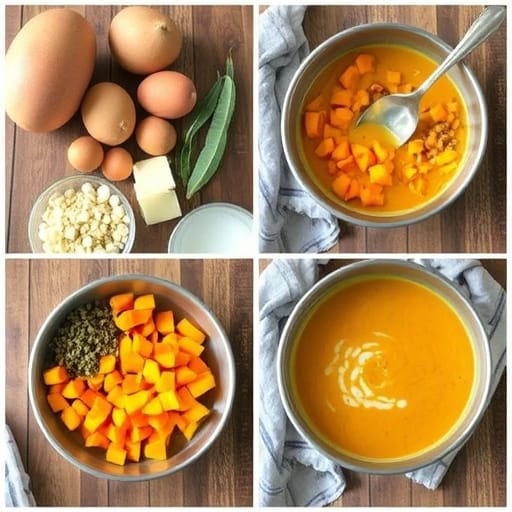
20. Other Soup Recipes to Explore
- Creamy Mushroom Soup
- Roasted Butternut Squash Soup
- Classic Minestrone Soup
21. Focus on Tools and Equipment
- Invest in a heavy-bottomed pot for even cooking.
- Use a high-powered blender for ultra-smooth results.
22. Frequently Asked Questions (with answers)
Q: Can I use dried rosemary instead of fresh?
A: Yes, but reduce the amount to avoid overpowering the flavor.
Q: Can I make this soup vegan?
A: Absolutely! Use coconut milk instead of cream and vegan butter or olive oil.
Conclusion
Rosemary Potato Soup is a timeless dish that combines simplicity, flavor, and comfort. Its rich, creamy texture and the aromatic presence of rosemary make it a standout option for any occasion. Whether enjoyed alone or as part of a larger meal, this soup is a testament to the beauty of simple ingredients. Try this recipe today and let its warmth and flavor fill your kitchen!