Introduction
Curried sausages are a delicious, comforting dish that brings together tender sausages and a rich, fragrant curry sauce. This recipe is a family favorite and a great way to add a flavorful twist to your weekly meal plan. It’s quick to prepare, hearty, and pairs wonderfully with rice or mashed potatoes. Perfect for busy weeknights or when you crave something warm and satisfying, this dish is an easy way to bring the taste of curry into your kitchen.
Table of Contents
The Story Behind Curried Sausages
Curried sausages are a classic dish with a unique blend of Western and Indian flavors. They have roots in the British love for curry, which was introduced during colonial times. Over the years, the recipe has evolved, and today, it’s a staple comfort food in countries like Australia and New Zealand. This version simplifies the process while keeping the flavors authentic and bold, making it an all-time favorite for home cooks.
The Benefits of Making Your Own Curried Sausages
- Customizable Spices: You can adjust the spice level to your preference.
- Affordable Ingredients: The dish uses budget-friendly items, making it economical.
- Healthy Option: Homemade versions allow you to control the amount of salt, sugar, and fat.
- Quick to Prepare: It’s a simple one-pan meal, perfect for busy schedules.
- Versatile: It pairs well with rice, bread, or even noodles for variety.
Essential Ingredients for the Perfect Curried Sausages
- Sausages: Beef or chicken sausages work best. Use high-quality ones for a richer flavor.
- Curry Powder: The star ingredient! Choose mild, medium, or hot depending on your spice tolerance.
- Vegetables: Common choices include onions, carrots, and peas for a hearty texture.
- Broth: Beef or chicken broth forms the base of the curry sauce.
- Thickener: Flour or cornstarch ensures a smooth, creamy sauce.
- Aromatics: Garlic and ginger elevate the dish’s depth of flavor.
- Coconut Milk or Cream: Adds richness and a subtle sweetness.
Cultural History of Ingredients
- Curry Powder: A British adaptation of Indian spice blends, it symbolizes the fusion of cuisines.
- Sausages: A staple across European and Western cuisines, providing protein in an easy-to-cook form.
- Coconut Milk: A nod to Indian and Southeast Asian culinary influences.
- Vegetables: Common in Western stews, they enhance the dish’s nutritional profile.
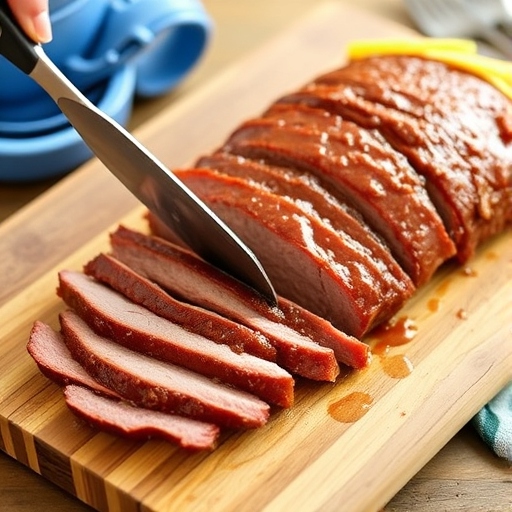
Equipment You’ll Need
- A large skillet or frying pan
- A sharp knife and cutting board
- A wooden spoon for stirring
- Measuring cups and spoons
- A saucepan for cooking rice (optional)
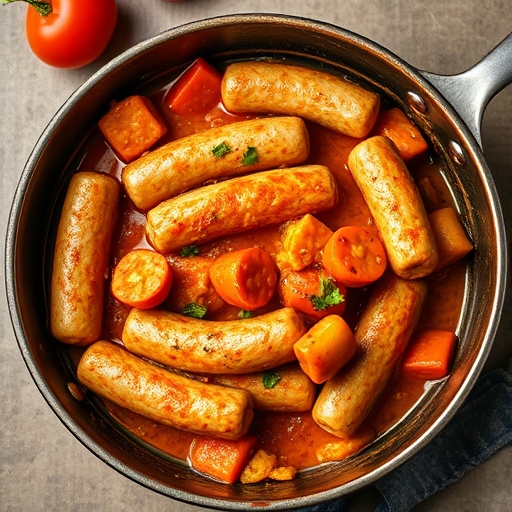
Step-by-Step Instructions for Curried Sausages
Ingredients:
- 6 beef or chicken sausages
- 1 tablespoon oil
- 1 large onion, diced
- 2 garlic cloves, minced
- 1 teaspoon grated ginger
- 2 carrots, sliced
- 1 cup frozen peas
- 2 tablespoons curry powder
- 2 cups beef or chicken broth
- 1 tablespoon flour or cornstarch (mixed with 2 tablespoons water)
- 1/2 cup coconut milk (optional)
- Salt and pepper to taste
Instructions:
- Cook the Sausages:
Boil the sausages in water for 5 minutes to firm them up. Let them cool, then slice into bite-sized pieces. - Prepare the Base:
Heat oil in a large skillet over medium heat. Add onions, garlic, and ginger. Sauté until fragrant and the onions are soft. - Add Curry Powder:
Stir in the curry powder and cook for 1 minute to release its flavors. - Incorporate Vegetables:
Add carrots and cook for another 2–3 minutes. - Create the Sauce:
Pour in the broth, and stir to combine. Add the sliced sausages and bring to a simmer. - Thicken the Sauce:
Stir in the flour or cornstarch mixture and cook until the sauce thickens. - Finish with Coconut Milk:
Stir in coconut milk for extra richness (optional). - Add Peas:
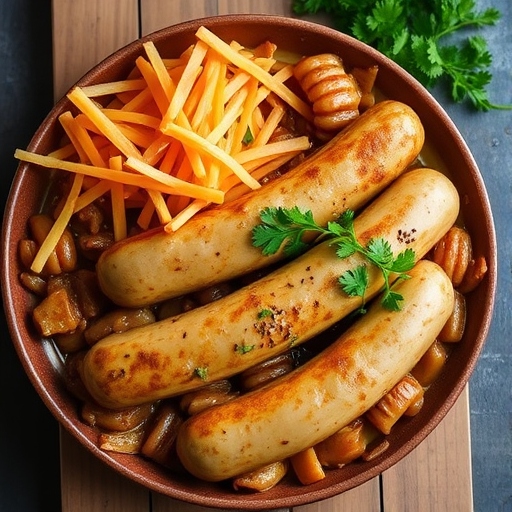
Add frozen peas and cook for 2 minutes. Season with salt and pepper. - Serve:
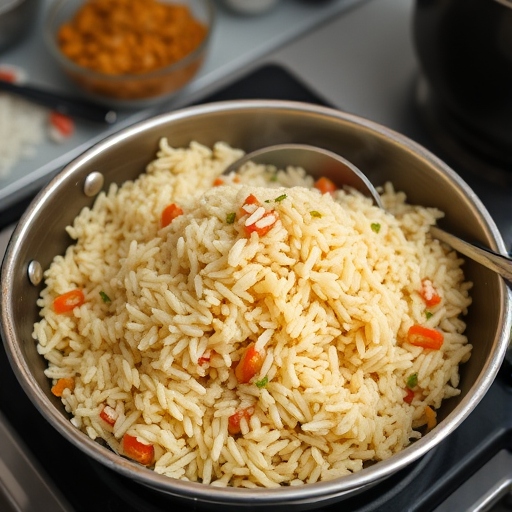
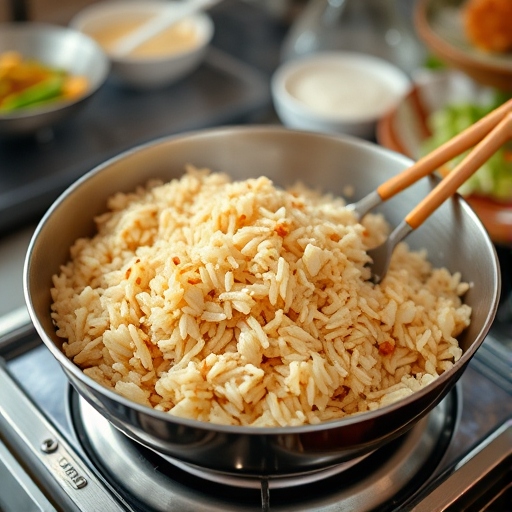
Serve hot over rice, mashed potatoes, or with crusty bread.
Suggestions for Serving and Storing
- Serving: Garnish with fresh cilantro or parsley for added freshness.
- Storing: Store in an airtight container in the fridge for up to 3 days.
- Freezing: This dish freezes well; freeze in portions for easy meal prep.
Chef Simon’s Tips for Curried Sausages
- Use pre-cooked sausages to save time.
- For extra depth, add a teaspoon of garam masala or smoked paprika.
- If you like a hint of sweetness, stir in a tablespoon of mango chutney.
Emotional and Psychological Impact of Food
Curried sausages evoke a sense of warmth and comfort, often bringing back childhood memories of family dinners. The fragrant aroma of spices can uplift your mood and create a welcoming atmosphere at the table.
Mindful Cooking Techniques
- Take your time to sauté the aromatics, as this step builds the flavor foundation.
- Stir the sauce gently to ensure even cooking and prevent sticking.
Tips for Keeping the Recipe Fresh Longer
- Cool the dish completely before storing it in the refrigerator.
- Reheat on low heat to preserve the texture and flavors.
Advanced Culinary Terms and Techniques
- Deglazing: Scrape up browned bits from the pan when adding the broth for extra flavor.
- Blooming Spices: Cooking curry powder in oil helps release its full aroma.
Healthy Ingredient Alternatives
- Use turkey or plant-based sausages for a lighter option.
- Replace coconut milk with low-fat yogurt.
- Add extra vegetables like zucchini or spinach for more nutrients.
More Serving Ideas
- Serve with naan bread for a more authentic curry experience.
- Top with crispy fried onions for added texture.
Common Issues and Solutions
- Sauce Too Thin: Add more cornstarch slurry.
- Overcooked Vegetables: Add them later in the cooking process.
Variations to Try
- Spicy Kick: Add a chopped chili or a teaspoon of chili powder.
- Creamy Version: Use heavy cream instead of coconut milk.
Nutritional Information and Health Benefits
Approximate values per serving:
- Calories: 320
- Protein: 16g
- Carbohydrates: 20g
- Fat: 18g
The Art of Pairing Curried Sausages
Serve with a cold lager, a refreshing lemonade, or a creamy lassi to balance the spice.
Weather and Recipe Outcome
Curried sausages are perfect for cool weather, as the hearty dish provides warmth and comfort.
Other Recipes to Explore
- Chicken Korma
- Beef Stroganoff
- Vegetable Coconut Curry
Focus on Tools and Equipment
Invest in a heavy-bottomed skillet to prevent burning and ensure even cooking.
Frequently Asked Questions (with answers)
Q1: Can I make this vegetarian?
Yes, substitute the sausages with plant-based options.
Q2: Can I skip the coconut milk?
Absolutely! The broth alone will still create a flavorful sauce.
Q3: How do I make it spicier?
Add cayenne pepper or fresh chili.
Conclusion
Curried sausages are a quick, flavorful, and hearty dish that’s perfect for any occasion. With its rich sauce, tender sausages, and customizable flavors, it’s sure to become a family favorite. Enjoy this dish as a comforting meal that warms both body and soul!