Introduction
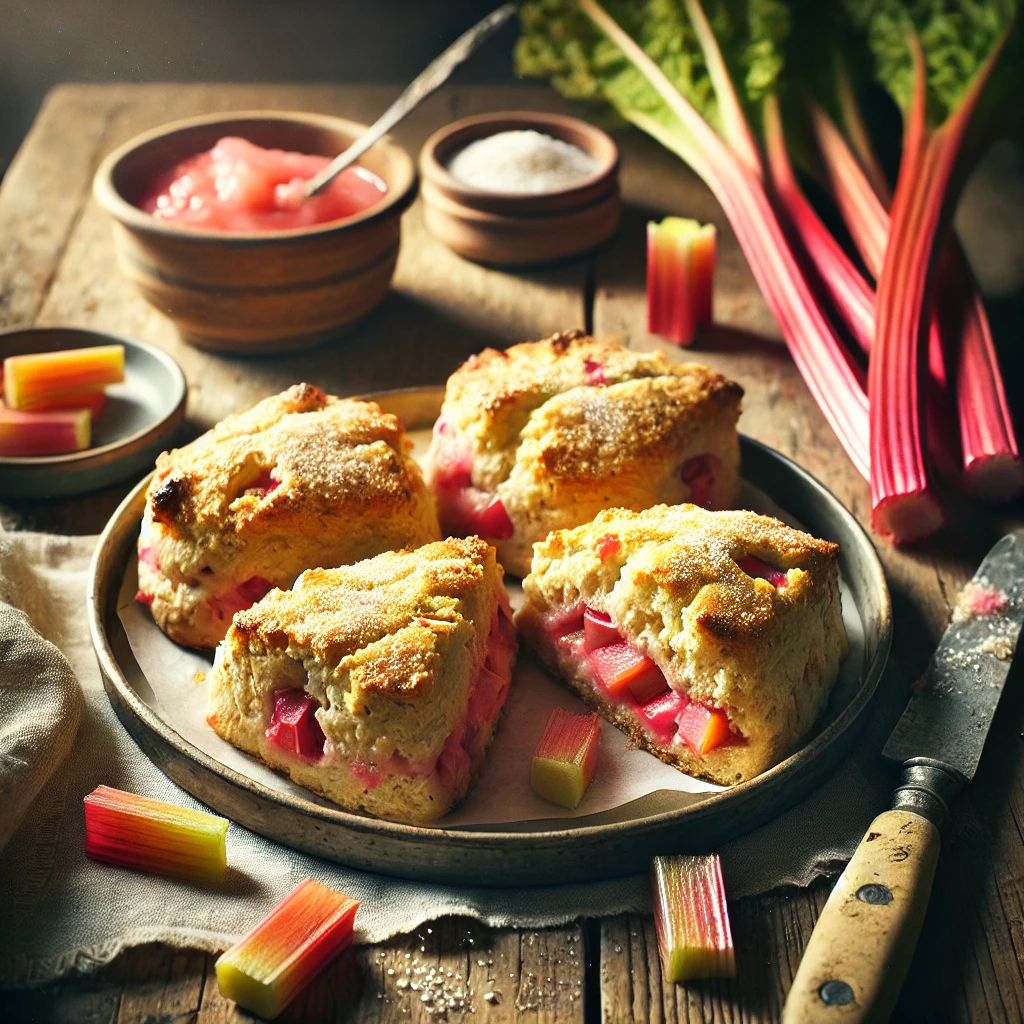
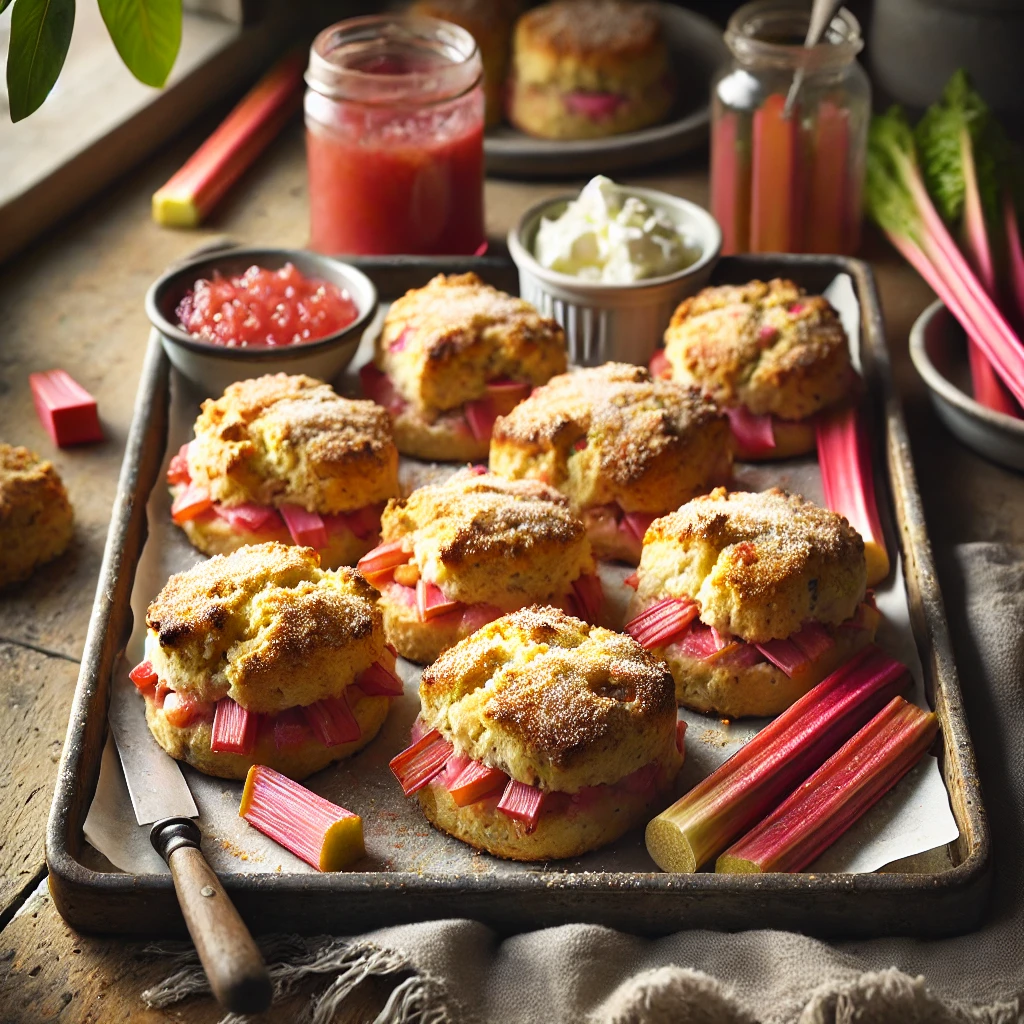
Rhubarb scones are a delightful twist on a classic British treat. These tender, flaky scones are infused with the tart, slightly sweet flavor of rhubarb, making them perfect for a spring or summer breakfast or afternoon tea. The combination of fresh rhubarb and a lightly sweetened dough creates a delicious balance of flavors and textures. These scones are easy to make and can be enjoyed with a dollop of clotted cream or a smear of butter for an indulgent treat.
Table of Contents
The Story Behind Rhubarb Scones
Scones have a long history in British baking, dating back to the early 19th century. They are a staple of afternoon tea and come in many variations, from sweet to savory. Rhubarb, on the other hand, has a more complex history. Often used in pies and jams, its tart flavor pairs beautifully with baked goods like scones. The use of rhubarb in scones adds a seasonal, fruity flair that’s perfect for spring and summer months when rhubarb is in peak season.
The Benefits of Making Your Own Rhubarb Scones
- Fresh Ingredients: By making your own scones, you can use the freshest ingredients, ensuring the best flavor.
- Customizable: Adjust the sweetness or the amount of rhubarb to suit your taste.
- Fresh from the Oven: There’s nothing quite like the smell of freshly baked scones, and making them at home allows you to enjoy that experience.
- Versatile: Enjoy them with jam, cream, or fresh fruit, or serve them as a stand-alone snack or alongside your favorite tea.
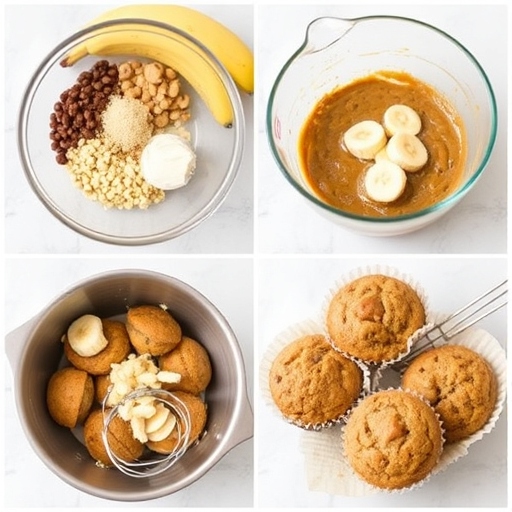
Essential Ingredients for the Perfect Rhubarb Scones
- Flour: All-purpose flour is ideal for scones, providing structure and fluffiness.
- Sugar: Granulated sugar is used to sweeten the dough and add a touch of sweetness to balance the tartness of the rhubarb.
- Baking Powder: Helps the scones rise and achieve their signature fluffiness.
- Butter: Cold butter gives the scones their flakiness and tender crumb.
- Milk or Cream: Adds richness to the dough and helps bind the ingredients together.
- Rhubarb: Fresh rhubarb, chopped into small pieces, is the star ingredient.
- Egg (optional): Used to brush the scones before baking, giving them a golden, shiny finish.
Cultural History of Ingredients
- Rhubarb: Known for its tart flavor, rhubarb has been used in cooking for centuries. It was originally valued for its medicinal properties before becoming a popular ingredient in desserts and baked goods.
- Butter: An essential ingredient in many baked goods, butter adds flavor, moisture, and richness to scones.
- Flour: A staple in baking, flour has been used in baked goods for thousands of years. Scones originated in Scotland, where they were traditionally made with barley flour before the advent of wheat flour.
Equipment You’ll Need
- Mixing bowl
- Pastry cutter or forks (to cut butter into flour)
- Rolling pin
- Baking sheet
- Parchment paper
- Knife for chopping rhubarb
- Pastry brush (optional, for brushing egg wash)
Step-by-Step Instructions for Rhubarb Scones
- Prepare the Oven and Baking Sheet:
- Preheat your oven to 400°F (200°C). Line a baking sheet with parchment paper to prevent the scones from sticking.
- Mix Dry Ingredients:
- In a large mixing bowl, whisk together the flour, sugar, baking powder, and a pinch of salt.
- Cut in the Butter:
- Add the cold butter (cut into small cubes) to the dry ingredients. Use a pastry cutter or forks to cut the butter into the flour until the mixture resembles coarse crumbs with pea-sized pieces of butter.
- Add the Rhubarb:
- Gently fold in the chopped rhubarb, ensuring it’s evenly distributed throughout the dough.
- Make the Dough:
- Gradually add milk (or cream) and mix until the dough begins to come together. Be careful not to overwork the dough, as this can make the scones tough.
- Shape the Scones:
- Turn the dough out onto a lightly floured surface and gently knead it a couple of times to bring it together. Pat the dough into a round disc about 1 inch thick. Using a sharp knife or cookie cutter, cut the dough into wedges or rounds.
- Brush and Bake:
- If desired, brush the tops of the scones with a little beaten egg to give them a golden finish. Place the scones on the prepared baking sheet and bake for 15-20 minutes, or until they are golden brown on top.
- Serve:
- Let the scones cool slightly before serving. Enjoy warm with butter, clotted cream, or jam.
Suggestions for Serving and Storing
- Serve With: Rhubarb scones are delicious with clotted cream, strawberry jam, or a dollop of mascarpone cheese. A cup of freshly brewed tea pairs perfectly with these scones.
- Storing: Store leftover scones in an airtight container at room temperature for up to 2 days. They can also be frozen for up to one month. To reheat, warm them in the oven for a few minutes.
Chef Simon’s Tips for Rhubarb Scones
- Keep Butter Cold: The colder the butter, the flakier the scones will be. You can even chill the bowl and pastry cutter before starting.
- Don’t Overmix: Mix the dough just until it comes together to avoid tough scones.
- Adjust Sweetness: If your rhubarb is particularly tart, you can add a bit more sugar to the dough to balance the flavor.
- Add Zest: Try adding lemon zest for an extra burst of flavor that complements the rhubarb beautifully.
Emotional and Psychological Impact of Food
Rhubarb scones can bring feelings of comfort and nostalgia, reminding many of family gatherings, cozy afternoons, or a relaxing tea break. The smell of freshly baked scones can evoke feelings of warmth and home, making them a perfect treat to share with loved ones.
Mindful Cooking Techniques
- Focus on Texture: Pay attention to the texture of the dough. The key to perfect scones is a light, fluffy texture, so be gentle when mixing and shaping the dough.
- Breathe and Enjoy: Take your time as you mix and prepare the dough. Enjoy the process of baking and the delightful smell that fills the kitchen as your scones bake.
Tips for Keeping the Recipe Fresh Longer
- Keep the scones in an airtight container to prevent them from drying out. If you freeze them, wrap them individually in plastic wrap before placing them in a freezer bag.
- To refresh the scones, pop them in a warm oven for a few minutes to bring back their fresh-baked texture.
Advanced Culinary Terms and Techniques
- Cutting in the Butter: This technique involves incorporating cold butter into the flour mixture to create a crumbly texture. The small pieces of butter help create a flaky, tender scone.
- Folding: When adding the rhubarb, fold it gently into the dough to avoid breaking it down too much.
Healthy Ingredient Alternatives
- Butter Substitute: Use coconut oil or a dairy-free butter alternative for a healthier version.
- Sweetener: Replace granulated sugar with honey, maple syrup, or a natural sugar substitute if you prefer a lower-sugar option.
More Serving Ideas
- Pair With: Serve scones with fresh berries or a fruit compote for a fruity accompaniment.
- Top With: A drizzle of honey or a dusting of powdered sugar can add a finishing touch to these scones.
Common Issues and Solutions
- Flat Scones: If your scones come out flat, check that your baking powder is fresh and active, as expired baking powder can cause scones to not rise properly.
- Tough Scones: Be sure not to overmix the dough. Overworking the dough can result in dense, tough scones.
- Soggy Scones: If your scones are too wet, add a little more flour to the dough to balance the moisture from the rhubarb.
Variations to Try
- Rhubarb and Strawberry Scones: Add diced strawberries to the dough for a classic rhubarb-strawberry combination.
- Spiced Rhubarb Scones: Add a pinch of cinnamon or nutmeg to the dough for extra warmth and flavor.
- Savory Rhubarb Scones: Try a savory version with cheese and herbs, replacing the sugar with a pinch of salt.
Nutritional Information and Health Benefits
- Calories (per scone): 250
- Carbs: 32g
- Protein: 4g
- Fat: 12g
- Fiber: 2g
- Sugar: 9g
Rhubarb scones offer a balance of carbohydrates and healthy fats, providing energy and a dose of fiber from the rhubarb.
The Art of Pairing Rhubarb Scones
Pair these scones with a hot cup of Earl Grey or a refreshing iced tea for a perfect afternoon tea experience. The bright, floral notes of Earl Grey complement the tartness of the rhubarb, while the richness of the scones balances out the flavors. You can also enjoy these scones with a rich cup of coffee or a creamy cappuccino for a more indulgent treat.
Weather and Recipe Outcome
Rhubarb scones are perfect for spring and early summer when rhubarb is in season. The freshness and tartness of the rhubarb really shine during this time of year. The light, flaky texture of the scones can also be a great pick-me-up on a rainy day, filling your home with the comforting scent of baking. If you’re baking in a hot, humid climate, keep your kitchen cool to prevent the dough from becoming too soft and sticky, which could affect the scones’ texture.
Other Scone Recipes to Explore
If you enjoy these rhubarb scones, you might also like trying out other scone variations, such as:
- Classic English Scones – Perfect for a traditional afternoon tea.
- Blueberry Scones – A sweet and fruity version of the classic scone.
- Cheddar and Chive Scones – A savory option for brunch or alongside a hearty soup.
Focus on Tools and Equipment
When making scones, having the right tools can make the process much smoother:
- Pastry Cutter: This tool is essential for cutting the butter into the flour to ensure a flaky texture.
- Rolling Pin: Although you can shape the dough with your hands, a rolling pin helps ensure an even thickness.
- Baking Sheet with Parchment Paper: Keeps the scones from sticking and ensures even baking.
- Oven Thermometer: Ensures your oven is at the correct temperature, which is key to achieving a perfect scone texture.
Frequently Asked Questions (with answers)
Q: Can I use frozen rhubarb for this recipe?
A: Yes, you can use frozen rhubarb. Just be sure to thaw it completely and drain any excess moisture before adding it to the dough to prevent soggy scones.
Q: Can I make the dough ahead of time?
A: Yes, you can prepare the dough and refrigerate it for up to 24 hours before baking. Just be sure to bring the dough back to room temperature before shaping and baking.
Q: How do I know when my scones are done?
A: The scones should be golden brown on the top and firm to the touch. You can also insert a toothpick into the center of one of the scones—if it comes out clean, the scones are done.
Q: Can I add other fruits to the scones?
A: Absolutely! You can experiment with other fruits like strawberries, blueberries, or even peaches. Just be mindful to balance the moisture level in the dough.
Conclusion
Rhubarb scones are a delightful treat that combines the tartness of rhubarb with the richness of a classic scone. Whether you enjoy them for breakfast, at tea time, or as a snack, they’re sure to impress. With a few simple ingredients and an easy step-by-step process, you can create these tender, flaky scones that will fill your home with the sweet, irresistible scent of freshly baked goods. Perfect for any occasion, these scones are a wonderful way to celebrate the arrival of rhubarb season and enjoy a delicious homemade treat.
By following these instructions and tips, you’ll be able to bake scones that are not only delicious but also made with love and care. Enjoy them with your favorite drink and share with family and friends for a memorable experience. Happy baking!