Introduction
Craving a hearty, spicy dish that’s full of flavor and perfect for any season? This Spicy Chicken Stew is the answer! Packed with tender chicken, bold spices, and a savory broth, it’s a one-pot meal that warms the soul. Whether you’re cooking for a crowd or enjoying a cozy night in, this stew delivers comfort with a kick. Let’s dive into how you can bring this delicious dish to your table.
Table of Contents
The Story Behind Spicy Chicken Stew
Spicy chicken stews have long been a favorite across various cultures, from the rich and aromatic flavors of North Africa to the fiery heat of Latin America. The combination of tender chicken and a punch of spices has evolved to suit diverse tastes. This recipe takes inspiration from a fusion of these styles, creating a comforting yet bold dish that satisfies both spice lovers and those looking for a hearty meal.
The Benefits of Making Your Own Spicy Chicken Stew
- Flavor Control: Adjust the spice levels to your taste, from mild to fiery hot.
- Nutrient-Rich: Chicken provides protein, while vegetables add fiber, vitamins, and antioxidants.
- One-Pot Meal: Simple cleanup and a dish that cooks all in one pan.
- Customizable: Add or remove ingredients based on dietary preferences or what you have on hand.
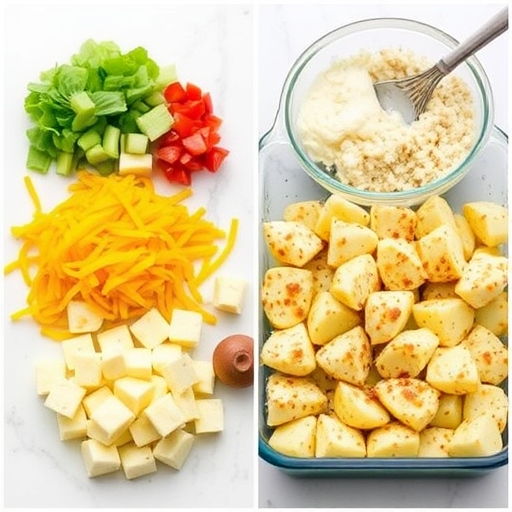
Essential Ingredients for the Perfect Spicy Chicken Stew
- Chicken Thighs or Breasts: Bone-in thighs offer more flavor, but breasts work too for a leaner option.
- Onion & Garlic: Base aromatics that add depth to the broth.
- Canned Tomatoes: Create a rich, flavorful base for the stew.
- Chicken Broth: Enhances the flavor and provides a comforting liquid base.
- Chili Peppers (fresh or dried): Adjust the heat according to your preference.
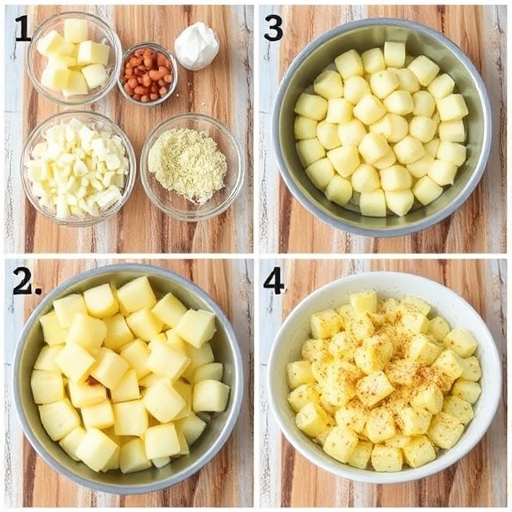
- Spices: Paprika, cumin, coriander, and turmeric create a flavorful, aromatic mix.
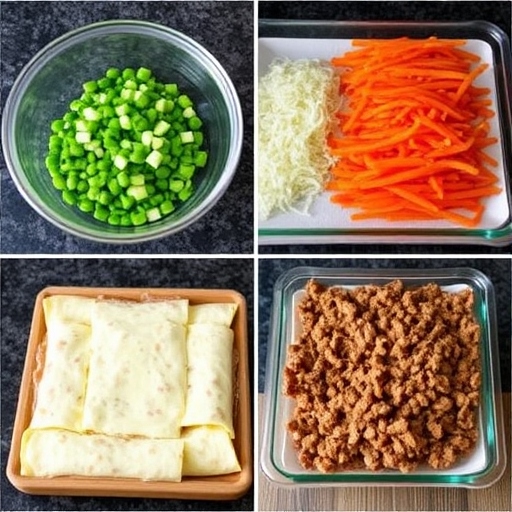
- Vegetables: Potatoes, carrots, and bell peppers provide texture and balance.
- Fresh Cilantro or Parsley: For a fresh garnish that cuts through the spice.
Cultural History of Ingredients
- Chicken: A globally loved protein that has been a staple in human diets for centuries, often used in stews across various cultures for its flavor and ease of cooking.
- Chili Peppers: Native to the Americas, they were quickly adopted by cuisines worldwide, becoming a symbol of spice and heat in many dishes.
- Cumin & Coriander: Key spices in many Middle Eastern, Indian, and Latin American dishes, these spices have deep roots in history and have traveled across the globe through trade.
Equipment You’ll Need
- Large pot or Dutch oven
- Wooden spoon or spatula
- Knife and cutting board
- Measuring spoons
- Ladle for serving
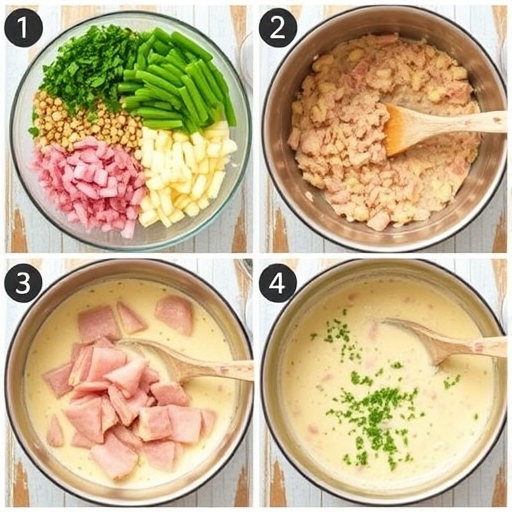
Step-by-Step Instructions for Spicy Chicken Stew
- Sear the Chicken: Heat oil in a large pot over medium-high heat. Brown the chicken pieces on both sides, then remove and set aside.
- Sauté Aromatics: In the same pot, sauté the onions and garlic until softened and fragrant.
- Add Spices: Stir in the paprika, cumin, coriander, and turmeric, cooking for a minute to release their oils.
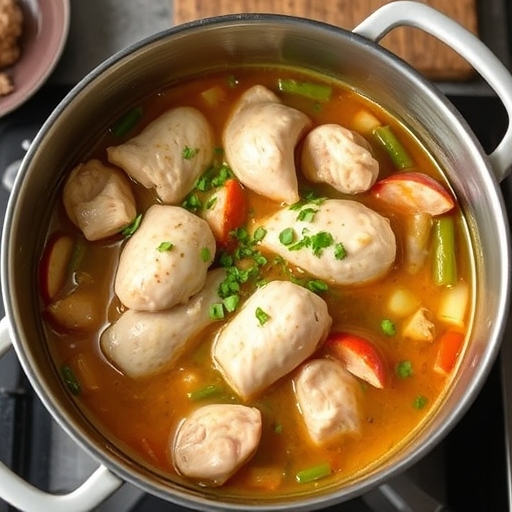
- Build the Stew: Add diced potatoes, carrots, and bell peppers, followed by canned tomatoes, chicken broth, and fresh chili peppers.
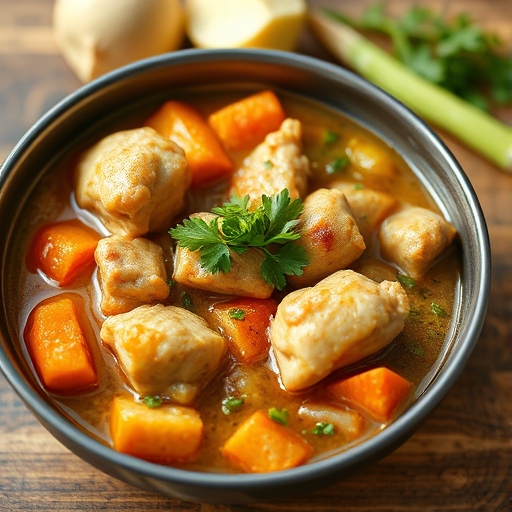
- Simmer the Stew: Return the chicken to the pot, cover, and simmer for 30–40 minutes until the chicken is fully cooked and the vegetables are tender.
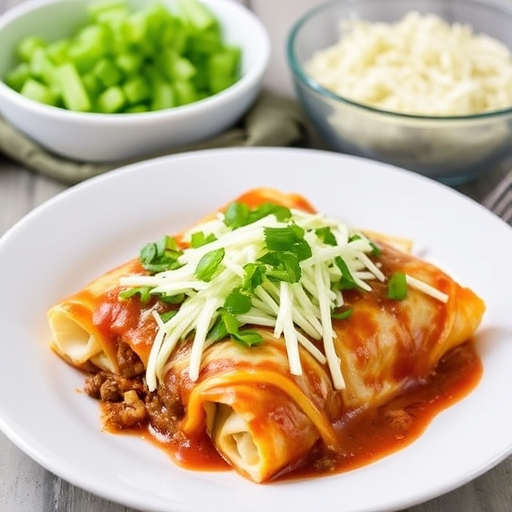
- Finish and Serve: Garnish with fresh cilantro or parsley, and serve hot with rice or crusty bread.
Suggestions for Serving and Storing
- Serving: Serve this stew with a side of steamed rice, quinoa, or crusty bread to soak up the rich broth.
- Storing: Let the stew cool before storing in an airtight container. It will keep in the fridge for up to 3 days or can be frozen for up to 2 months.
Chef Simon’s Tips for Spicy Chicken Stew
- If you prefer a smoother stew, mash some of the potatoes to thicken the broth.
- Adjust the heat by adding more or less chili pepper, or even using a milder variety like jalapeño.
- For an extra depth of flavor, add a splash of lime juice before serving.
Emotional and Psychological Impact of Food
Food has the power to comfort and bring people together, and this spicy chicken stew does just that. The warmth of the dish, coupled with its bold spices, makes it an ideal meal to enjoy with loved ones, creating lasting memories around the dinner table.
Mindful Cooking Techniques
- As you cook, focus on the process: the sizzling of the onions, the warmth of the spices, and the transformation of the ingredients as they come together.
- Take your time to enjoy each step and notice the aromas and textures that develop.
Tips for Keeping the Recipe Fresh Longer
- Store the stew in an airtight container and reheat gently over low heat to prevent the chicken from drying out.
- If you’ve added potatoes, they may absorb some of the liquid, so you can add a little extra broth when reheating.
Advanced Culinary Terms and Techniques
- Deglazing: After searing the chicken, use a bit of chicken broth to scrape up the browned bits on the bottom of the pot. This adds extra flavor to the stew.
- Mirepoix: The combination of onions, carrots, and celery, which forms the base of many soups and stews.
Healthy Ingredient Alternatives
- Chicken: Opt for lean chicken breasts or even turkey for a lighter alternative.
- Potatoes: Use sweet potatoes for a slightly sweeter flavor and extra nutrients.
- Broth: Swap for low-sodium chicken broth if you’re watching your salt intake.
More Serving Ideas
- Top with a dollop of sour cream or Greek yogurt to balance out the spice.
- Add a side of sautéed greens like spinach or kale for a nutrient boost.
Common Issues and Solutions
- Too Spicy: Add a touch of honey or sugar to balance out the heat.
- Too Thick: If the stew is too thick, add more broth to reach your desired consistency.
Variations to Try
- Add beans like black beans or chickpeas for extra protein.
- Try incorporating other vegetables like zucchini, corn, or green beans for variety.
Nutritional Information and Health Benefits
Each serving (1 cup) provides approximately:
- Calories: 350
- Protein: 30g
- Fiber: 6g
- Fat: 15g
- Carbohydrates: 25g
- Vitamins: High in Vitamin A and C from the vegetables.
The Art of Pairing Spicy Chicken Stew
- Wine Pairing: A chilled Riesling or a light-bodied Chardonnay can help counteract the heat.
- Beverage Alternative: Serve with a cold, refreshing iced tea or lemon-infused water to balance the spice.
Weather and Recipe Outcome
- This stew is perfect for cooler weather, providing warmth and comfort on chilly days.
- In warmer weather, enjoy it as a light, spicy dish with a crisp salad to balance the heat.
Other Stew Recipes to Explore
If you enjoyed this, try these comforting stew recipes:
- Beef and Barley Stew
- Lentil and Vegetable Stew
- Pumpkin and Sausage Stew
Focus on Tools and Equipment
- Use a sturdy Dutch oven or a large pot for even cooking and flavor development.
- A sharp chef’s knife will make chopping vegetables much easier and faster.
Frequently Asked Questions (with answers)
Q: Can I make this stew ahead of time?
A: Yes! This stew tastes even better the next day as the flavors meld.
Q: What’s the best way to adjust the spice level?
A: Add chili peppers in stages, tasting along the way, or remove the seeds from the peppers to reduce heat.
Conclusion
This Spicy Chicken Stew is a bold, comforting dish that combines tender chicken, hearty vegetables, and the perfect balance of spices. Whether you’re looking for a meal to warm you up on a cold day or a dish to impress guests, this recipe is sure to satisfy. So, gather your ingredients, fire up the stove, and enjoy a delicious meal that’s both spicy and full of flavor!
Let me know if you’d like any adjustments!
Thank you for visiting SqueezyRecipes! We’re dedicated to making cooking enjoyable and accessible for everyone, regardless of your skill level. Chef Simon is always ready to share the best recipes that bring a creative touch to your daily meals. With each visit, you’ll discover new recipes and innovative ideas that cater to every occasion. Don’t miss out on exploring SqueezyRecipes for the latest delicious dishes, and feel free to leave your feedback and share your experiences with the recipes you’ve tried. Cooking together makes everything better!